Hello Friends --
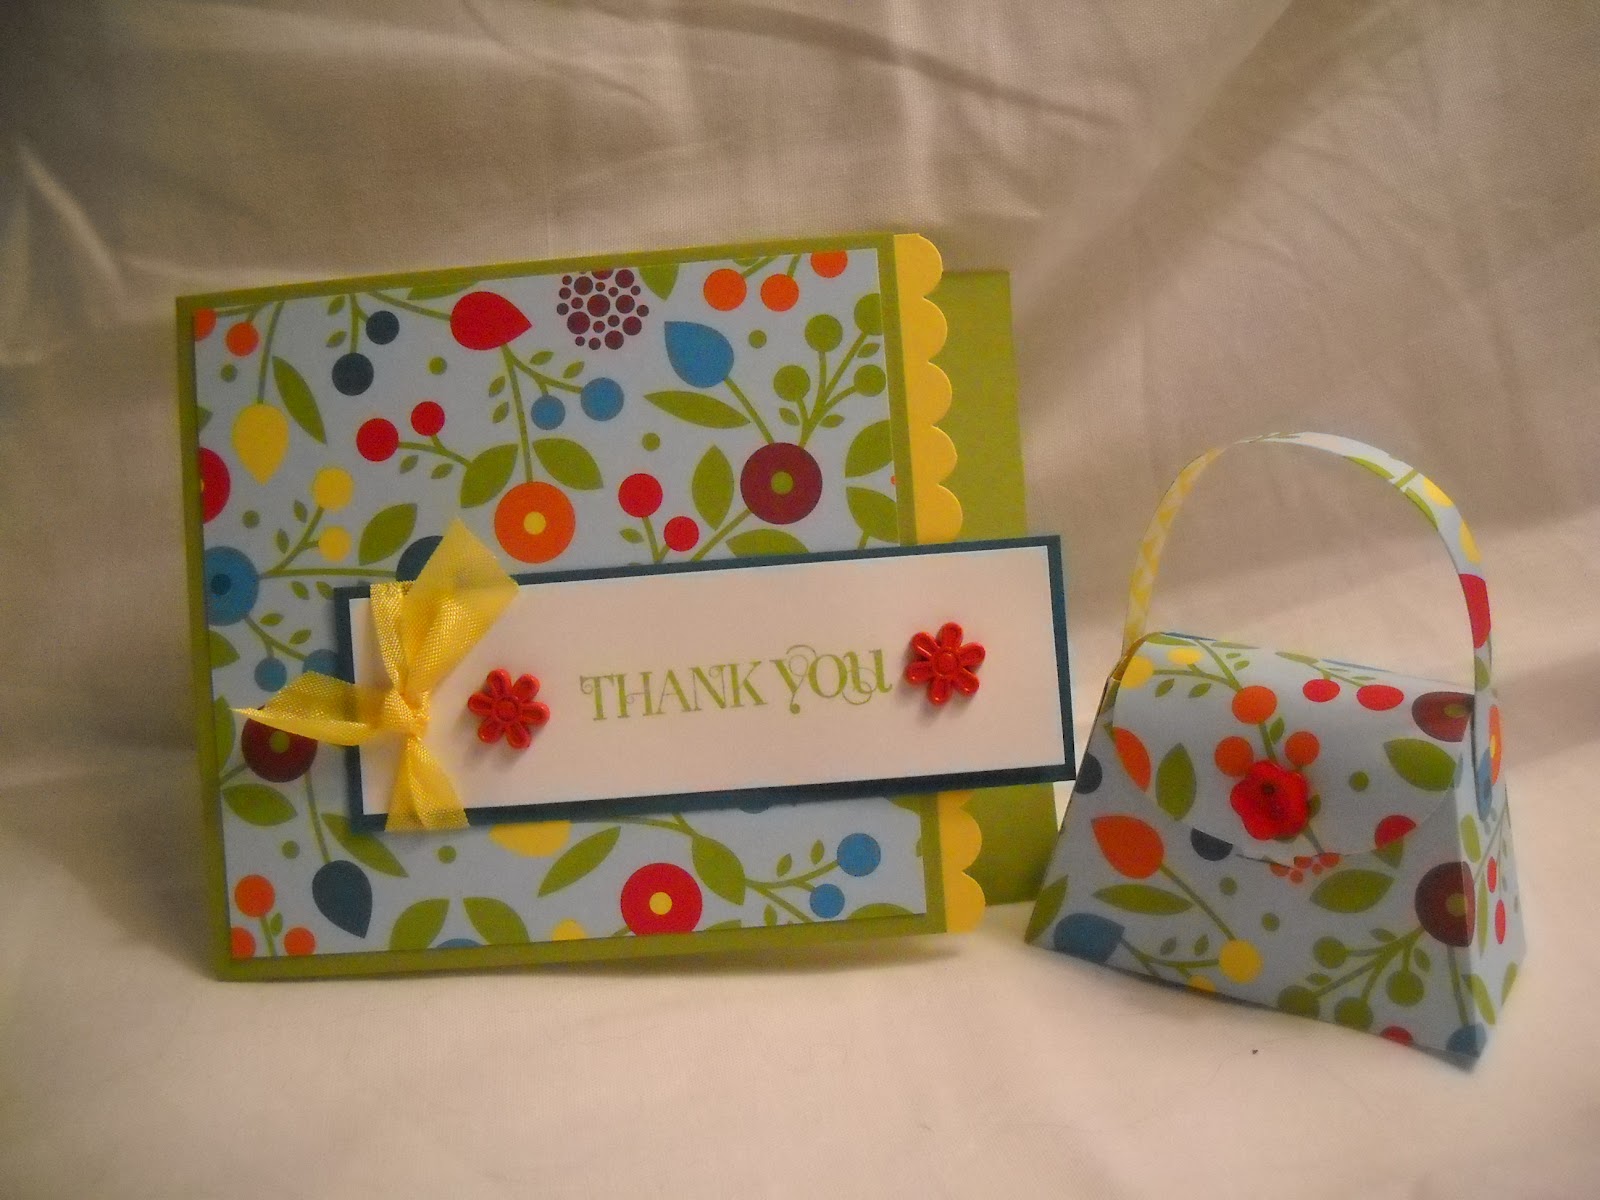
I wanted to show you a simple card and purse made with the new Summer Smoochies items that SU is promoting this month. They will be in the new catalog come June.
The card idea is very similar to the one Mary Fish (SU Demo) recently made. I just changed it up a bit to suit me. It is such a simple card and the paper is georgeous. The little purse is made with the purse die listed on the promotion page. It too was so simple. I just ran it through the Big Shot machine, folded it on the score lines and added a cute button. You've got to love simple!
Supplies:
Stamps: Curly Cute
Paper: Summer Smooches, Lucky Limeade, Daffodil Delight,
Island Indigo and Whisper White
Ink: Lucky Limeade
Other: Scallop punch, Brads-Flower Brights, Daffodil Delight 1/2"
seam binding ribbon
Enjoy! Love, Kathryn
Old Mission Paper Crafter
Sunday, April 15, 2012
Saturday, April 14, 2012
Birthday Wishes - Feminine
Hello Friends --
I spent the morning with my daughter and grandson visiting a scrapbook crop held at the Otsego Club in Gaylord, MI where they had 150 participants. I'm hoping to be a vendor there next November - I guess I'll have to make sure it doesn't clash with the craft show dates. It was really fun and even made me want to scrapbook more. The card today was the last one from my Private Party this week. It was cased from another Stampin' Up! Demo with just a few changes.
Supplies:
Stamps: Mixed Bunch, Curvy Verses
Paper: Patterns Stack - Bold, Whisper White, Regal Rose
Inks: Basic Black, Daffodil Delight, Regal Rose
Other: Blossom Punch, Circle Punches, Old Olive Scallop Dot ribbon,
Beautiful Wings embosslits, Basic jewels, Dots
Most of the card front was made with punches or embosslits. The leaves were made by first punching a circle, then inserting the circle into the punch again halfway.
Enjoy - Love, Kathryn
Friday, April 13, 2012
Masculine Birthday #5
Hello Friends --
I made this cute masculine birthday card for a private party this week. Most of it was copied from another demonstrator, I just changed it up a bit to suite me. I just love the old truck in this set and have used it many times, but this one really appealed to me. The little black strip on the card front is not ribbon, but Basic Black cardstock that I ran through the Houndstooth embossing folder. The card front is an inch shorter on the right side to give it a little pizzazz.
Supplies:
Stamps: Countryside, Happiest Birthday Wishes (H)
Paper: Confetti Cream, Basic Black, Lucky Limeade,
MDS Love Letter #4
Ink: Basic Black
Other: Houndstooth embossing folder
Why not make one for your man!
Love, Kathryn
Thursday, April 12, 2012
Party this Way Birthday
Hi Stampers!
Here's a fun card for older kids and teens that uses an inexpensive stamp set. I copied almost the entire card from another demo, Mary Fish, who is so talented. The paper is the new Summer Smoochies DSP from the upcoming annual catalog - the one you can order early during April.
This is one of the cards we made at our private party this week.
Supplies:
Stamps: Party this Way, Delightful Dozen
Paper: Whisper White, Island Indigo, Tangerine Tango,
Summer Smoochies DSP
Inks: Basic Black, Tangerine Tango
Other: Basic Black marker, Brad
Have fun! Love, Kathryn
Wednesday, April 11, 2012
Rosette Wreath
Hello Friends!
I had the nicest Private Party last night with three lovely ladies - Diane, Tammi and Penny. They were first timers at my place, but they were most definitely stampin' pros. They requested two things, to learn how to make rosettes with the "simply scored" tool; and to make three different birthday cards.
We had fun practicing making the rosettes with our new "summer smoochies" papers and I made this cute wreath to show what you can do with our designer papers. I used 5 different papers from the retiring "in-color" DSP pads so it matched perfectly.
Supplies:
Paper: In-Color (2011) DSP pad
Other: Simply Scored tool, Bold buttons, Summer Smoochies brads, Green
striped ribbon, generic styrofoam wreath covered with ribbon, hot glue
I will be showing the birthday cards we made over the next three days. Hope you enjoy this project!
Love, Kathryn
Wednesday, April 4, 2012
Easter Carrots
Hello Friends --
Hope you enjoy my Easter carrots treat. I copied them from Kirsty Brown's (Queensland) blog because they were so cute and easy.
To make the carrot pouch just cut a piece of 6 x 6" DSP and roll into a tube. Fasten the back with double-sided tape. Fold the bottom together so that the seam is on one side and close the bottom with d-s tape. For the top (before embellishments) just fold at the opposite end from the bottom. I made the embellishment from a circle scallop and closed the back with a piece of velcro so that you don't have to rip open the carrot to get the goodies inside.
Supplies:
Stamps: Everybunny
Paper: DSP Patterns Stack-Bold, Whisper White, Pumpkin Pie
Ink: Basic Black, Pumpkin Pie (Marker)
Other: Circle Scallop punch, Paper crimper, Watercolor crayons, Label punch, Velcro,
Circle punches
Happy munching!
Love, Kathryn
Tuesday, April 3, 2012
Happy Easter Everybunny
Hello Stampers --
Just had to make another card using the bunny set from the main catalog. I sent out 17 cards this year and I ran out of the others. Kinda feels like making Christmas cards! This is an easy one to make. I used the papers on My Digital Studio again and the new yellow ribbon that will be in the new catalog or you can early purchase on April 1st.
Supplies
Stamps: Everybunny
Paper: MDS DSP paper, Lucky Limeade, Melon Mambo, Whisper White,
Daffodil Delight
Inks: Basic Black, Lucky Limeade
Other: Watercolor Wonder Crayons, Daffodil Delight seam binding ribbon
Enjoy - Love, Kathryn
Subscribe to:
Posts (Atom)